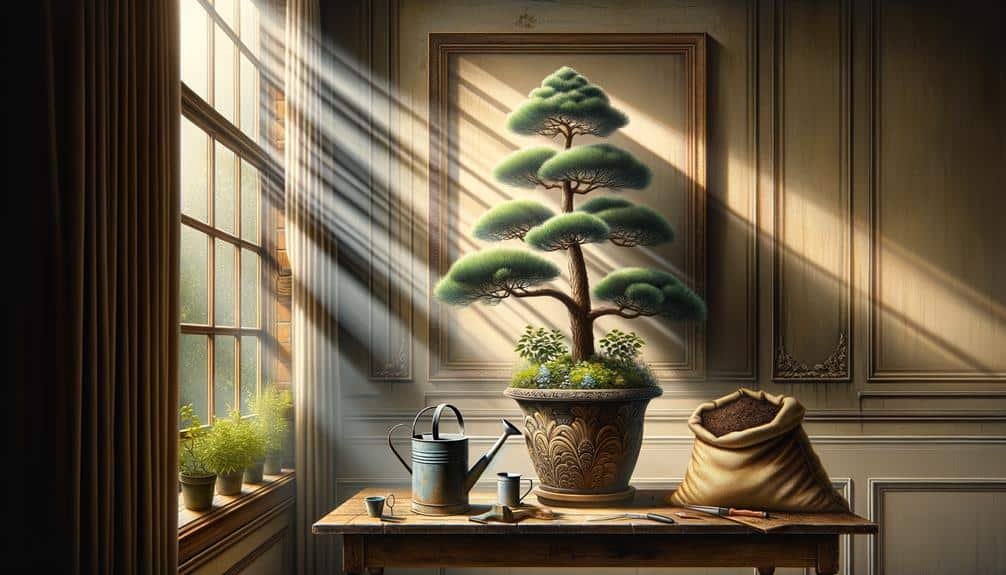
To cultivate Norfolk Island Pines successfully, place them where they receive bright, indirect sunlight. Use well-draining, airy soil with sand for proper drainage. Water deeply but infrequently, allowing the soil to dry slightly between waterings. Fertilize every 6-8 weeks during growth seasons with a balanced fertilizer. Prune to maintain shape and remove dead branches. Watch for pests like spider mites, promote good air circulation, and avoid overwatering. If you follow these tips, your Norfolk Island Pines will thrive. Additional insights on care techniques are available within the detailed guidelines provided.
Selecting the Right Location
When selecting a spot for your Norfolk Island Pine, make sure it gets enough sunlight throughout the day. These beautiful trees thrive in bright, indirect light, so placing them near a sunny window or in a well-lit room is ideal. Remember, sunlight is essential for the health and growth of your Norfolk Island Pine, so be sure to choose a location where it can soak up those rays.
Additionally, consider the temperature and humidity levels in the area where you plan to place your Norfolk Island Pine. These trees prefer moderate temperatures and thrive in humid environments, so try to avoid areas with extreme heat or cold drafts. Maintaining a consistent environment will help your tree flourish and remain healthy.
Choosing the Appropriate Soil
For essential growth of your Norfolk Island Pine, make sure you choose the correct type of soil. Norfolk Island Pines thrive best in well-draining soil that's slightly acidic to neutral. A good mix for your Norfolk Island Pine could include peat moss, perlite, and pine bark. This combination provides adequate drainage to prevent root rot, which can be detrimental to the health of your plant.
When selecting soil for your Norfolk Island Pine, avoid heavy soils like clay that can hold onto too much water, leading to root suffocation. Opt for a soil mix that's light, airy, and nutrient-rich to support healthy growth. You can also consider adding some sand to the soil mix to improve drainage further.
Remember that the soil you choose plays an important role in the overall health and growth of your Norfolk Island Pine. By selecting the right soil mix, you're setting your plant up for success and ensuring it has the best possible environment to thrive in.
Providing Adequate Sunlight
To guarantee prime growth and health for your Norfolk Island Pine, position it in a location that receives abundant sunlight throughout the day. Norfolk Island Pines thrive in bright, indirect light, making them ideal for spaces with plenty of natural sunlight. Aim to place your plant near a south-facing window where it can bask in the sun's rays for most of the day. If a south-facing window isn't an option, east or west-facing windows can also provide adequate sunlight.
When selecting the perfect spot for your Norfolk Island Pine, consider the intensity and duration of sunlight it will receive. Direct sunlight for a few hours combined with bright, indirect light for the rest of the day is ideal. Avoid placing your plant in a location with prolonged exposure to harsh, direct sunlight as this can scorch its needles. By ensuring your Norfolk Island Pine receives ample sunlight, you're setting the stage for lush growth and vibrant greenery.
Watering Norfolk Island Pines
Maintaining proper moisture levels is crucial for the health and growth of Norfolk Island Pines. Water your Norfolk Island Pine deeply but infrequently. Make sure that the soil is evenly moist, but not waterlogged. A good rule of thumb is to water the plant when the top inch of soil feels dry to the touch.
During the growing season, typically in spring and summer, water your Norfolk Island Pine more regularly, about once a week. In the winter months, reduce watering to every 2-3 weeks as the plant's growth slows down.

When watering, guarantee the water reaches the roots by watering thoroughly until you see water draining from the bottom of the pot. Avoid letting the plant sit in standing water, as this can lead to root rot. Additionally, use room temperature water to avoid shocking the roots.
Fertilizing Guidelines
When tending to your Norfolk Island Pine, make sure to provide the correct balance of nutrients by following proper fertilizing guidelines. Fertilizing is crucial for the healthy growth of your plant. Use a balanced, water-soluble fertilizer with equal parts nitrogen, phosphorus, and potassium.
During the growing season in spring and summer, feed your Norfolk Island Pine every 6-8 weeks to support its development. However, in fall and winter, reduce fertilization to every 12 weeks as the plant enters a period of dormancy. Be careful not to over-fertilize, as this can lead to nutrient imbalances and damage the roots. Always dilute the fertilizer to half the recommended strength to prevent burning the roots.
Water the plant thoroughly after fertilizing to help distribute the nutrients evenly in the soil. By following these simple guidelines, you can make certain that your Norfolk Island Pine receives the proper nourishment it needs to thrive and remain vibrant throughout the year.
Pruning and Shaping Techniques
For successful pruning and shaping of your Norfolk Island Pine, evaluate the plant's growth pattern and consider the desired form before making any cuts. Start by eliminating any dead or damaged branches using sharp, clean pruning shears. This will foster new growth and enhance the tree's overall appearance. If you want to shape your Norfolk Island Pine, carefully trim the tips of the branches to promote bushier growth. Remember to avoid cutting back into old wood, as this can safeguard the tree's health.
When shaping your Norfolk Island Pine, keep in mind the natural symmetry of the tree. Strive to create a balanced and pleasing silhouette by trimming branches evenly on all sides. Regularly examine your tree for any overgrown or crowded areas that may require pruning. By maintaining a consistent pruning schedule, you can guarantee the long-term health and beauty of your Norfolk Island Pine. With these straightforward techniques, you can help your tree thrive and flourish in your home.
Managing Pests and Diseases
To effectively protect your Norfolk Island Pine against pests and diseases, implement proactive monitoring and preventative measures. Regularly inspect the foliage and stems for any signs of pests such as spider mites, scale insects, or mealybugs. If you spot any pests, gently wipe them off with a damp cloth or treat them with insecticidal soap.
Additionally, guarantee proper air circulation around the plant by not overcrowding it with other plants, as this can help prevent fungal diseases.
Maintaining ideal growing conditions, such as providing the right amount of water and sunlight, can also help strengthen your Norfolk Island Pine and make it more resistant to potential pests and diseases. Avoid overwatering, as this can lead to root rot and other fungal issues. Moreover, be mindful of sudden temperature changes, as extreme conditions can stress the plant and make it more susceptible to pests and diseases.
Propagating Norfolk Island Pines
To propagate Norfolk Island Pines successfully, select healthy stem cuttings from the parent plant. Look for stems that are around 4-6 inches long and have at least a few sets of healthy needles. Using a sharp, clean knife, make a clean cut just below a set of needles. Remove the lower set of needles to expose the node where roots will form.
Prepare a well-draining potting mix, such as a combination of peat moss and perlite. Moisten the mix slightly before planting the cutting. Dip the cut end of the stem in rooting hormone to encourage root development. Make a hole in the soil using a pencil or stick and gently insert the cutting.
Place the potted cutting in a warm, brightly lit area, but away from direct sunlight. Keep the soil consistently moist but not waterlogged. In a few weeks, you should start to see new growth, indicating that roots are forming. Once the cutting has established roots, you can transplant it into a larger container or your garden.
Frequently Asked Questions
Can Norfolk Island Pines Be Grown Indoors as Houseplants?
Yes, Norfolk Island Pines can thrive indoors as houseplants, provided you meet their specific care requirements. These trees enjoy bright, indirect light and high humidity levels. Make sure they've well-draining soil and water them when the top inch of soil feels dry.
Regularly misting the foliage can help replicate their native environment. Monitor for pests and periodically rotate the plant to guarantee even growth.
With proper care, your Norfolk Island Pine will flourish indoors.
Are Norfolk Island Pines Toxic to Pets?
Norfolk Island Pines can be toxic to pets like cats and dogs if ingested. Keep these plants out of reach to prevent accidental consumption.
The needles and sap contain chemicals that may cause stomach upset, vomiting, or skin irritation in animals. Being cautious and creating a safe environment for your furry friends by placing these pines in areas inaccessible to pets is crucial.
Your pet's health and safety should always come first.
How Often Should Norfolk Island Pines Be Repotted?
To determine when to repot your Norfolk Island Pine, assess its roots by gently removing it from its container. If roots are circling the pot or densely packed, it's time for a new home. Typically, aim to repot every 2-3 years for young plants and every 4-5 years for mature ones.
Choose a slightly larger pot with good drainage, fresh soil, and avoid disturbing the roots excessively during the process.
Do Norfolk Island Pines Require a Specific Humidity Level?
Norfolk Island pines do require a specific humidity level to thrive. Aim for around 50-60% humidity, which mimics their native environment.
You can achieve this by using a humidifier or placing a tray of water near the plant. Consistent moisture in the air helps prevent browning of the needles and promotes healthy growth.
Monitoring humidity levels is essential in ensuring your Norfolk Island pine remains happy and healthy.
Can Norfolk Island Pines Be Grown in Containers or Pots Long-Term?
Indeed, Norfolk Island Pines can be cultivated in containers or pots long-term with proper care.
Make sure the container has good drainage and use a well-draining soil mix. Repot every few years to refresh the soil.
Position the plant in a location with bright, indirect light to promote healthy growth.
Consistently water and fertilize according to the plant's needs to sustain its long-term growth in a container.
Conclusion
To sum up, growing Norfolk Island Pines requires careful attention to location, soil, sunlight, watering, fertilizing, pruning, and pest management. By following these guidelines, you can successfully cultivate these beautiful trees in your garden or home.
Remember to propagate them as needed to expand your collection. With proper care and maintenance, Norfolk Island Pines can thrive and add a touch of natural beauty to your surroundings.