If you've ever wondered about the best way to propagate houseplants without soil, you're in luck. By following a few approved methods, you can successfully grow new plants from cuttings or divisions.
The key lies in understanding the right tools and techniques to ensure healthy root development and growth. Stay tuned to discover the secrets behind soil-free propagation and unlock the potential for expanding your indoor garden effortlessly.
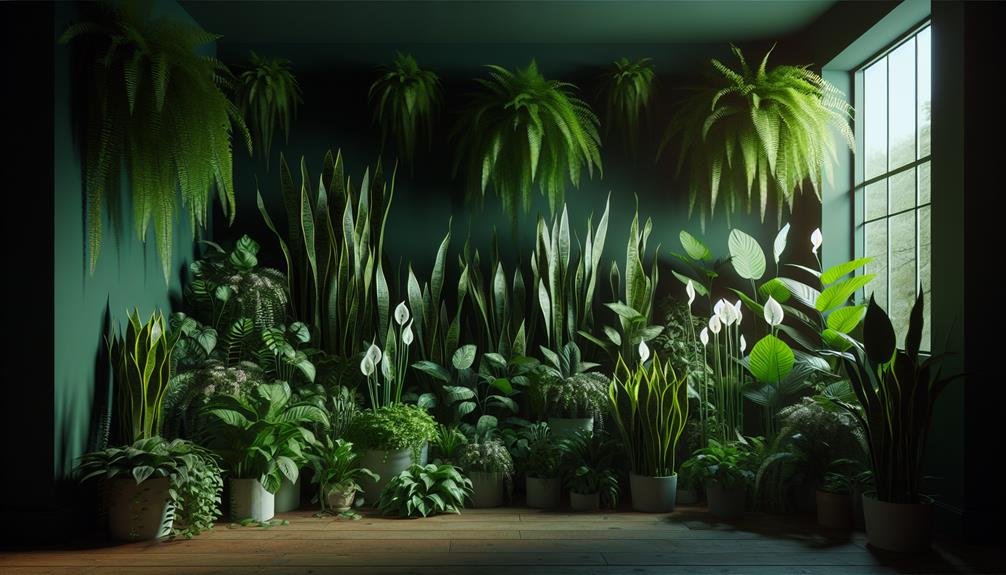
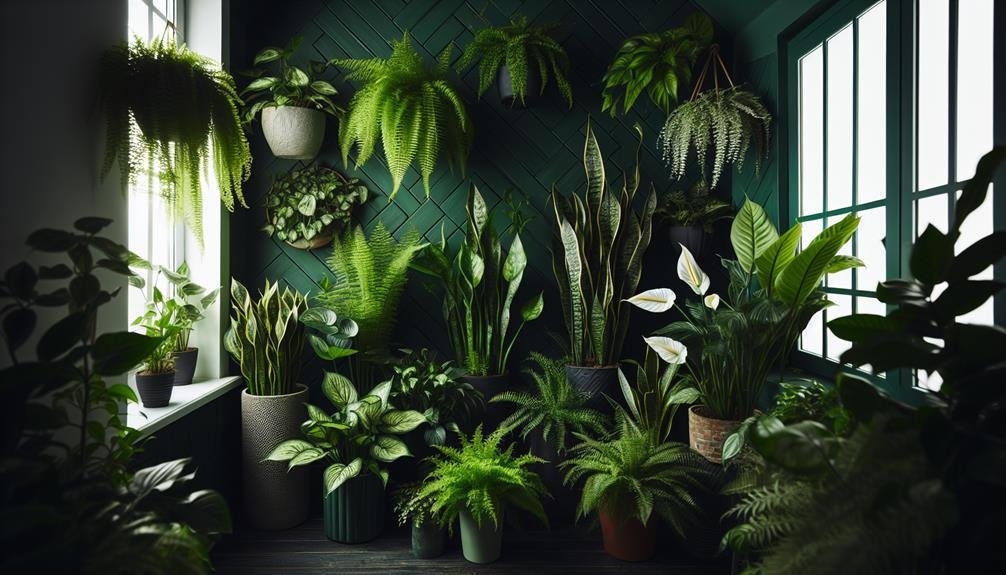
Benefits of Soil-Free Propagation
By eliminating soil from the propagation process, you can significantly reduce the risk of pests and diseases affecting your houseplants. Soil-free propagation methods offer numerous benefits for your indoor greenery. One advantage is the improved control over the plant's environment. Without soil, you can better regulate the moisture levels, preventing overwatering or underwatering common in traditional soil-based methods. This control leads to healthier root development and overall plant growth.
Furthermore, soil-free propagation can accelerate the growth of your houseplants. By using techniques like water propagation or air layering, you can stimulate root growth more effectively than in soil. This quicker root development means your plants can establish themselves faster, leading to stronger, more resilient specimens.
Another benefit is the ease of monitoring plant health. Without soil to obscure the roots, you can easily check for any issues such as rot or pests, allowing for prompt intervention. Additionally, soil-free propagation methods are often cleaner and less messy than traditional soil methods, making them ideal for indoor gardening.
Essential Tools and Materials
To successfully engage in soil-free houseplant propagation, ensure you have the necessary tools and materials readily available.
The essential tools for this method include:
- Sharp scissors or pruning shears for taking cuttings
- A clean cutting tool to prevent the spread of diseases
- A rooting hormone to promote root growth
- A spray bottle for misting
- A clear plastic bag or plastic dome to maintain humidity
- A suitable growth medium such as water, perlite, or vermiculite
Additionally, you'll need:
- Small pots or containers for planting the cuttings once they've developed roots
- A watering can or spray bottle for watering the newly propagated plants
- A warm, bright location for optimal growth
Make sure to have a clean work area and gloves to protect your hands during the propagation process.
Step-by-Step Propagation Process
Prepare your work area by gathering all the necessary tools and materials for the propagation process. Ensure you have sharp scissors or pruning shears, a clean container for water or soil, a rooting hormone (if desired), and of course, the plant you wish to propagate.

Once you have everything ready, select a healthy stem cutting from the parent plant. Make a clean cut just below a node, ensuring it's around 4-6 inches long. Remove the lower leaves to prevent them from being submerged in water or soil.
If you're using water propagation, place the cutting in a container filled with water, making sure only the cut stem is immersed. For soil propagation, dip the cut end in rooting hormone before planting it in moist soil.
Keep the cutting in a warm, well-lit area but avoid direct sunlight. Ensure the soil remains consistently moist or water levels are maintained. With patience and care, you'll soon see roots forming, indicating successful propagation.
Maintenance and Care Tips
For successful propagation, it's important to provide proper maintenance and care tips to ensure the health and growth of your newly propagated plant. After your plant cuttings have rooted, place them in a well-lit area but away from direct sunlight to prevent stress.
Keep the soil consistently moist by watering when the top inch feels dry, but be cautious not to overwater as this can lead to root rot. To promote healthy growth, fertilize your plants with a balanced liquid fertilizer every 2-4 weeks during the growing season.
Regularly check for any signs of pests or diseases, such as yellowing leaves or unusual spots, and treat them promptly to prevent further damage. Pruning your plants occasionally will help maintain their shape and encourage new growth.
Lastly, provide adequate humidity by misting the plants or placing them on a humidity tray to create a conducive environment for their development. By following these maintenance and care tips, you can ensure that your propagated plants thrive and flourish.
Common Mistakes to Avoid
Avoid neglecting proper plant care routines to prevent setbacks in your houseplant propagation journey. One common mistake to steer clear of is overwatering. While it's crucial to keep your plants hydrated, excessive watering can lead to root rot and hinder successful propagation. Ensure you follow a consistent watering schedule suited to the specific plant species you're propagating.
Another pitfall to avoid is using contaminated tools or equipment. Always sterilize your cutting tools before taking cuttings to prevent the spread of diseases. Additionally, using contaminated containers or soil can introduce harmful pathogens to your plants, compromising their health and growth.
Avoid skipping the step of monitoring light exposure. Inadequate or excessive light can stunt the growth of your propagated plants or even cause them to wither. Be mindful of the light requirements of each plant species and adjust their placement accordingly.
Lastly, don't rush the propagation process. Patience is key to successful propagation. Rushing can result in failed attempts and disappointment. Take your time, follow the proper steps, and enjoy the journey of propagating your houseplants successfully.
Frequently Asked Questions
Can Soil-Free Propagation Be Used for All Types of Houseplants, or Are There Certain Plants That Do Not Respond Well to This Method?
Soil-free propagation can work for most houseplants, but some mightn't thrive as well with this method. Factors like plant species, rooting habits, and preferred growing conditions can influence success. Experiment with a variety of plants to see what works best for you.
Remember to provide adequate light, humidity, and care to help your propagated plants flourish. Keep an eye on growth patterns and adjust your technique accordingly for optimal results.
Are There Any Potential Risks or Disadvantages to Using Soil-Free Propagation That Should Be Considered?
When considering soil-free propagation, it's important to be aware of potential risks or drawbacks. Some disadvantages to this method could include:
- The need for more frequent monitoring of moisture levels.
- A higher risk of overwatering leading to root rot.
- A higher initial investment in materials like rooting hormone or specialized growing mediums.
How Long Does It Typically Take for Houseplants to Root and Establish Themselves When Using Soil-Free Propagation?
When propagating houseplants soil-free, it usually takes several weeks for them to root and establish themselves. This process can vary depending on the type of plant and environmental conditions. Be patient as the roots develop, providing adequate moisture and light.
Regularly check for signs of growth to ensure successful propagation. Remember, each plant is unique, so the timing may differ slightly, but with care, your houseplants will thrive in their new environment.
Are There Any Specific Environmental Conditions or Factors That Are Particularly Important for Successful Soil-Free Propagation?
To successfully propagate houseplants without soil, it's crucial to provide the right environmental conditions. Adequate light, optimal temperature, and proper humidity levels are key factors for successful propagation.
Light helps with photosynthesis, warmth promotes growth, and humidity prevents drying out. By controlling these elements, you can create a conducive environment for your soil-free propagation efforts to thrive.
Can Soil-Free Propagated Houseplants Be Transferred to Soil Later On, or Should They Remain in Soil-Free Media Indefinitely?
You can absolutely transfer soil-free propagated houseplants to soil later on if you wish. However, it's important to acclimate them gradually to the new growing medium to prevent shock.
Start by mixing some soil into their current medium and gradually increase the ratio over time. This will help the plants adjust smoothly and continue thriving in their new soil environment.
Conclusion
Now that you know the approved method for soil-free houseplant propagation, you can enjoy all the benefits it offers.
With the right tools and materials, you can easily propagate your favorite plants and watch them thrive.
Just follow the step-by-step process and remember to provide proper maintenance and care.
Avoid common mistakes and you'll have a successful propagation process every time.
Happy planting!