When it comes to houseplant repotting, it's as crucial as a steady hand during delicate surgery. The success of this task can determine the well-being of your green companions. But fear not, for with the right guidance, you can navigate this process smoothly and ensure the thriving growth of your plants.
From selecting the perfect container to understanding the signs that it's time for a new home, each step plays a vital role in the health of your botanical friends. Stay tuned for valuable insights that will elevate your houseplant care game.
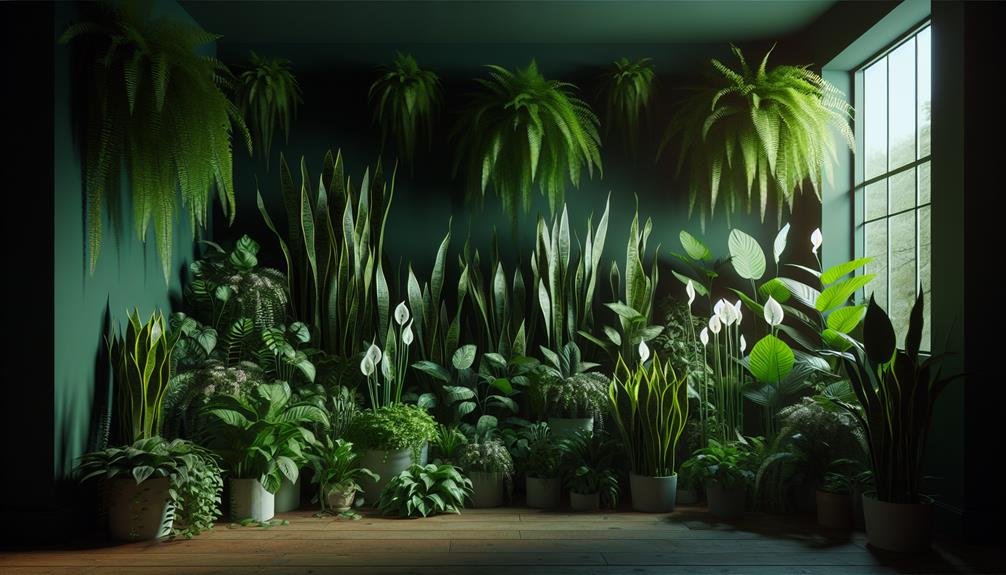
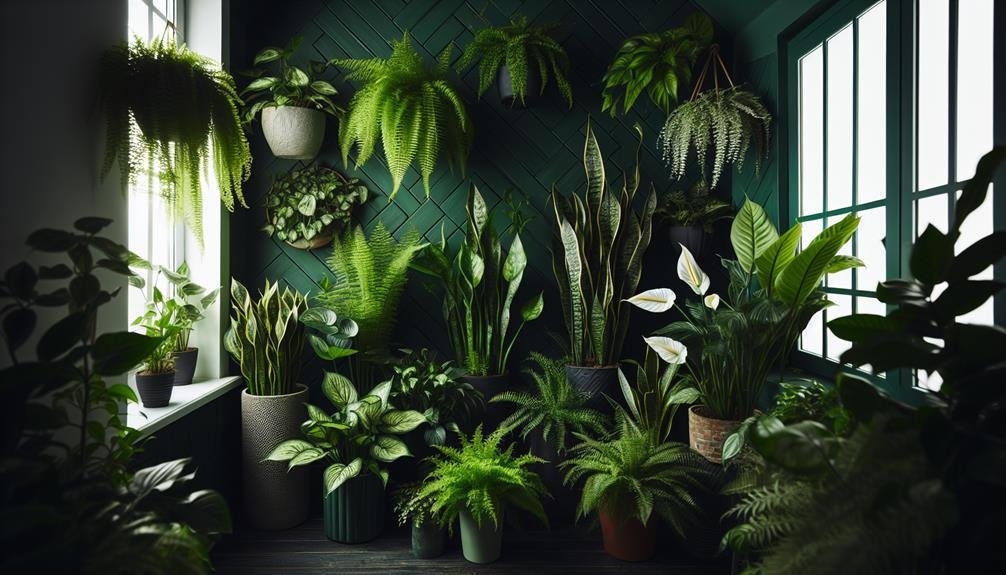
Selecting the Right Container
When repotting your houseplants, choose a container that's slightly larger than the current one to allow room for growth. This extra space encourages healthy root development and prevents the plant from becoming root-bound. Look for containers with drainage holes to prevent overwatering and root rot. Plastic, ceramic, or terracotta pots are all suitable options, each with its own benefits. Plastic is lightweight and retains moisture well, while ceramic and terracotta are more porous, allowing for better airflow to the roots.
Consider the aesthetic of the container as well, selecting one that complements your plant and your home decor. Ensure that the chosen pot fits well within the space where the plant will be located, both in terms of size and style. Additionally, if you're planning to use a cache pot (an outer decorative pot), make sure the inner pot with drainage holes fits comfortably inside.
Choosing the Appropriate Soil
For optimal plant growth during repotting, selecting the right soil is crucial. The soil you choose should provide proper drainage while retaining enough moisture for your houseplant to thrive. Opt for a well-balanced potting mix that's specifically formulated for indoor plants. These mixes usually contain a blend of materials like peat moss, perlite, and vermiculite, ensuring a good balance of aeration, drainage, and moisture retention.
When choosing soil, consider the specific needs of your plant. Some plants, like succulents, require a well-draining soil mix to prevent root rot, while others, such as tropical plants, thrive in a more moisture-retentive mix. Research your plant species to determine its soil preferences and select accordingly.
Avoid using soil from your garden, as it may contain pests, diseases, or have poor drainage. It's best to invest in a high-quality potting mix to provide your houseplant with the best growing environment. Remember, the right soil can make a significant difference in the health and growth of your beloved indoor plants.
Knowing When to Repot
Selecting the right soil for repotting is just the first step; now it's important to know when to repot your houseplant for optimal growth and health. One key indicator that your plant might need repotting is when you see roots emerging from the drainage holes at the bottom of the pot. This is a sign that the plant has outgrown its current container and needs more space for root development. Additionally, if you notice that water sits on the soil surface without being absorbed or if the plant dries out too quickly despite regular watering, these are also indications that repotting may be necessary.
Another factor to consider is the overall health and growth of your plant. If your houseplant is exhibiting stunted growth, wilting leaves, or a general decline in health, it may be time to repot. Timing is crucial, so aim to repot during the plant's active growth period, typically in the spring or early summer. By recognizing these signs and repotting your houseplant at the right time, you can ensure that it continues to thrive and flourish in its new container.
Preparing the Plant for Repotting
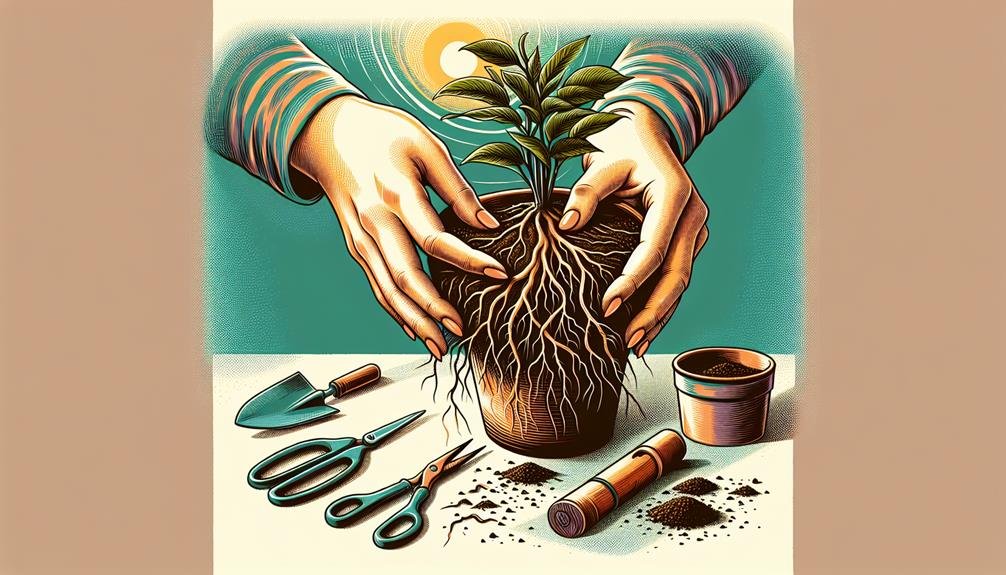
To prepare your houseplant for repotting, gently loosen the root ball from the current pot to promote healthy root growth in its new container. Start by watering your plant a day or two before the repotting process. This will make the root ball less compact and easier to remove from the pot. Carefully tilt the plant to the side and tap the bottom of the pot to release the root ball. If the plant is stubbornly stuck, gently squeeze the sides of the pot or run a knife along the inner edges to help loosen it.

Once the root ball is free, examine the roots for any signs of rot or overcrowding. Trim away any dead or mushy roots using clean shears to encourage new growth. If the roots are tightly wound around the ball, tease them apart gently with your fingers to prevent them from continuing to grow in circles. Preparing your plant in this way will ensure a smooth transition to its new home and support its overall health and vitality.
Handling the Roots With Care
Gently untangle the roots of your houseplant as you prepare it for repotting to ensure optimal growth in its new container. Carefully loosen the root ball by massaging it with your fingers or gently teasing the roots apart. Be cautious not to damage or break the roots during this process, as they're vital for the plant's overall health and ability to absorb water and nutrients.
Inspect the roots as you untangle them, trimming any that are dead, rotting, or excessively long. Healthy roots are typically white or light-colored, firm, and free of foul odors. Removing any damaged roots will encourage the growth of new, healthy ones in the fresh potting mix.
Avoid compacting the roots back into a tight ball once they're untangled. Instead, spread them out in the new container, allowing them room to expand and grow. This will help prevent root-bound conditions and promote better nutrient absorption and overall plant health.
Ensuring Proper Drainage
To ensure healthy growth for your repotted houseplant, proper drainage in the new container is essential. When selecting a new pot, prioritize those with drainage holes at the bottom. These holes allow excess water to escape, preventing waterlogging that can lead to root rot.
Before repotting, place a layer of small stones or broken pottery pieces at the bottom of the container. This layer helps to create space for drainage while preventing the soil from clogging the holes. Additionally, using a well-draining potting mix is crucial. Opt for mixes specifically formulated for the type of plant you're repotting, ensuring it's light and airy to promote proper drainage.
During the repotting process, be mindful not to pack the soil too tightly around the roots, as this can hinder water flow. By ensuring proper drainage, you provide your houseplant with the optimal conditions for healthy growth and development.
Post-Repotting Care and Maintenance
After repotting your houseplant, ensure proper post-repotting care and maintenance to support its growth and health. Begin by placing your newly repotted plant in a location that meets its light and temperature requirements. Avoid direct sunlight for a few days to allow the plant to adjust. Water the plant thoroughly but be cautious not to overwater; check the soil moisture regularly and adjust watering accordingly. Keep an eye out for any signs of stress such as wilting or yellowing leaves, as this may indicate the plant needs more or less water.
During the initial weeks post-repotting, avoid fertilizing your plant to prevent root burn. Once your plant has settled into its new pot, resume a regular fertilizing schedule. Monitor the plant for any pests or diseases that may take advantage of the plant's weakened state post-repotting.
Lastly, resist the urge to repot again too soon; allow the plant time to establish itself in its new environment. With proper care and attention, your houseplant will thrive in its newly repotted home.
Frequently Asked Questions
Can I Repot Multiple Houseplants Together in the Same Container?
Yes, you can repot multiple houseplants together in the same container. However, it's important to consider each plant's individual needs before doing so.
Ensure they have similar light, water, and soil requirements to thrive together. Monitor their growth and health regularly to make adjustments as needed.
Remember to choose a container with proper drainage to avoid overwatering and root rot issues. Happy repotting!
Should I Fertilize My Houseplant Immediately After Repotting?
After repotting your houseplant, it's generally best to wait a bit before fertilizing. Give your plant some time to adjust to its new pot and soil first. Waiting a few weeks allows it to settle in and reduces the risk of stress.
Once your plant has had time to acclimate, then you can introduce some fertilizer to support its growth and health.
How Often Should I Clean My Houseplant's New Container?
When caring for your houseplant's new container, remember to clean it regularly to maintain a healthy environment. Dust and dirt can accumulate, potentially leading to pests or diseases.
Make it a habit to wipe down the container with a damp cloth every few weeks or whenever you notice buildup. Keeping the container clean will benefit your plant's overall well-being and growth.
Can I Use Tap Water to Water My Houseplant After Repotting?
After repotting your houseplant, you can use tap water to water it. Just make sure to let the water sit out for a day or use a water filter to remove any harmful chemicals like chlorine that could potentially harm your plant.
This will ensure that your houseplant receives clean and safe water, promoting its growth and health.
Is It Necessary to Trim Back the Foliage of My Houseplant Before Repotting?
Before repotting your houseplant, it's not always necessary to trim back the foliage. However, if your plant is experiencing significant stress or if the foliage is overly dense, a slight trim can help it adjust better to its new pot.
Just be cautious not to remove too much, as leaves play a crucial role in photosynthesis. A light pruning can be beneficial as long as it's done thoughtfully.
Conclusion
Now that you've mastered the art of houseplant repotting with these 7 tips, your plants will thrive in their new homes.
Remember to choose the right container and soil, repot when needed, handle the roots gently, and ensure proper drainage.
With post-repotting care and maintenance, your plants will continue to flourish and brighten up your living space.
Happy gardening!