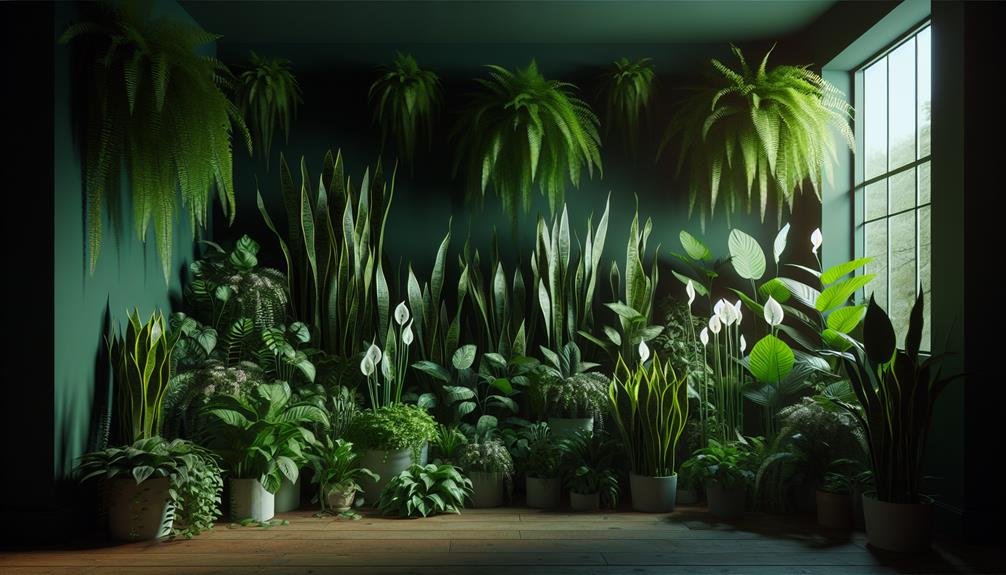
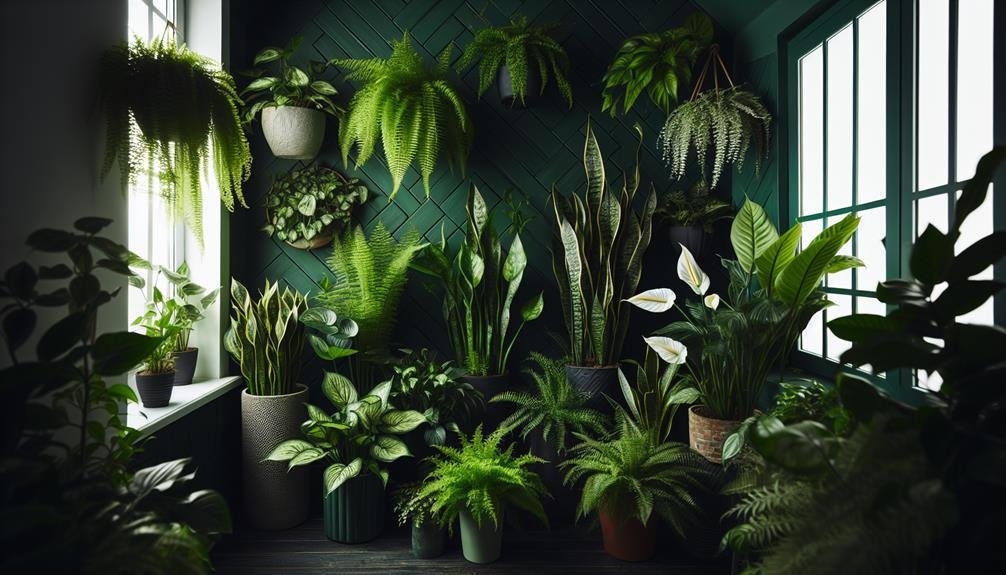
Imagine coming home to find your favorite monstera leaning to the side, its roots bursting out of the pot. Properly repotting your houseplant is crucial for its health and growth.
But how do you know when it's time to give your plant a new home? Understanding the signs and techniques for repotting can make all the difference in ensuring your houseplant thrives.
Let's explore the essential steps you need to take to successfully repot your beloved green companion.
Benefits of Repotting Your Houseplant
Repotting your houseplant every 1-2 years can greatly benefit its overall health and growth. By providing fresh soil, you ensure that your plant has access to essential nutrients for optimal development. Over time, the soil in the current pot may become compacted, hindering proper drainage and root aeration. Repotting allows for the inspection of the roots, enabling you to prune any damaged or overgrown ones, promoting healthier root growth. Additionally, a larger pot during repotting gives the plant more room to expand its roots, which can lead to increased nutrient uptake and a stronger, more stable base.
When you repot your houseplant, you also have the opportunity to address any pests or diseases that may have developed in the old soil. By replacing the soil and thoroughly cleaning the roots, you can prevent potential issues from spreading and ensure a fresh start for your plant. Overall, regular repotting is a simple yet effective way to support the well-being and longevity of your beloved houseplant.
Signs Your Plant Needs Repotting
If you notice your houseplant becoming root-bound or outgrowing its current container, it may be time to consider repotting. Signs that your plant needs repotting include roots growing through the drainage holes, roots circling around the pot's bottom, or the plant becoming top-heavy and tipping over easily.
Wilting or yellowing leaves despite regular watering can also indicate that the plant is root-bound and in need of a larger container. Another sign is when water runs straight through the pot without being absorbed, showing that the roots have taken up most of the space, leaving little room for soil and water retention.
Additionally, if you see roots pushing up above the soil surface or notice that the plant is becoming too large for its current pot, these are clear indicators that it's time to repot your houseplant to provide it with more space to grow and thrive.
Steps to Prepare for Repotting
To get ready for repotting your houseplant, gather all the necessary materials and choose a new pot that's slightly larger than the current one. Start by selecting a pot that has drainage holes at the bottom to prevent waterlogging. Next, gather fresh potting soil suitable for your plant type, a trowel for digging, and gloves to protect your hands.
Prepare a clean workspace by laying down old newspapers or a tarp to catch any soil spills. Have a watering can or spray bottle nearby to moisten the new soil before repotting. If your plant is large or heavy, consider asking for help or using a plant caddy to make moving it easier.

Lastly, inspect the roots of your plant. If they're tightly packed or circling the root ball, gently loosen them before repotting to encourage healthy growth in the new pot. By following these steps, you'll be well-prepared to successfully repot your houseplant and promote its well-being.
How to Repot Your Houseplant
Begin by carefully lifting your houseplant out of its current pot, being mindful not to damage the roots. Gently tip the pot to the side and support the base of the plant as you ease it out. Inspect the roots for any signs of overcrowding, such as encircling roots or a dense root ball.
Next, prepare the new pot by adding a layer of fresh, well-draining potting mix to the bottom. The new pot should be only 1-2 inches larger in diameter than the current one to prevent overpotting. Place your plant in the center of the new pot, ensuring it sits at the same depth as before.
Fill in the sides with more potting mix, pressing it down lightly to secure the plant. Water the plant thoroughly to help settle the soil around the roots. Finally, give your houseplant a nice spot with appropriate light and temperature conditions to recover from the shock of repotting.
Caring for Your Newly Repotted Plant
Now that your houseplant has been successfully repotted, ensure its health and growth by following proper care guidelines for your newly repotted plant. Place the plant in an area with adequate sunlight according to its specific requirements. Monitor the soil moisture levels regularly, ensuring it remains consistently moist but not waterlogged. Water the plant thoroughly when the top inch of soil feels dry to the touch. Remember not to overwater, as this can lead to root rot.
In the weeks following repotting, avoid fertilizing your plant to prevent root burn. Allow it to acclimate to its new environment before introducing nutrients. Keep an eye out for any signs of stress such as wilting leaves or yellowing, which may indicate that the plant isn't adjusting well to its new pot.
Lastly, maintain a consistent environment by regulating temperature and humidity levels. Avoid placing your plant near drafty windows or heating vents. With proper care and attention, your newly repotted plant will thrive and continue to beautify your living space.
Frequently Asked Questions
Can I Reuse the Old Soil From My Plant's Previous Pot When Repotting?
Yes, you can reuse the old soil from your plant's previous pot when repotting. It's recommended to refresh the soil by mixing in some fresh potting mix to provide your plant with new nutrients.
Check the soil for compactness and root-bound conditions before deciding. Reusing old soil can save you money and reduce waste, just ensure it's still in good condition for your plant's health.
Should I Prune the Roots of My Plant Before Repotting?
Before repotting your plant, you should consider pruning the roots. Trimming the roots can help stimulate new growth and prevent them from becoming root-bound in the new pot. It also allows for better nutrient absorption and overall plant health.
Make sure to trim any damaged or circling roots, but avoid cutting too much to avoid stressing the plant. Root pruning can be beneficial for your plant's well-being during the repotting process.
How Often Should I Repot My Houseplant?
You should repot your houseplant every 1 to 2 years. Check the roots and if they're circling the pot or coming out of the drainage holes, it's time for a new home.
Choose a pot that's 1-2 inches larger in diameter than the current one. Gently loosen the roots before placing the plant in its new container with fresh soil.
This will help your plant thrive and continue to grow beautifully.
Can I Repot My Plant in a Container That Is Larger or Smaller Than Its Current Pot?
You can repot your plant in a container that's slightly larger than its current pot, but avoid going too big. A container too large can lead to overwatering and root rot.
If you opt for a smaller pot, make sure it's not too snug to restrict root growth. Choose a new container that allows for some growth but isn't overwhelmingly larger than the plant's current home.
Will Repotting My Plant Help It Grow Faster or Larger?
Repotting your plant can promote faster and larger growth. By providing fresh soil and a larger container, you give the roots more space to expand and absorb nutrients. This encourages healthier growth and can lead to a more robust plant.
Remember to choose a pot only slightly larger than the current one to prevent over-potting stress. Regularly repotting can rejuvenate your plant and keep it thriving.
Conclusion
Now that you've successfully repotted your houseplant, remember to give it some time to adjust to its new environment. Keep an eye on its growth and make sure to continue caring for it properly.
Repotting your plant can help it thrive and grow, so don't be afraid to do it again in the future if needed. Your green thumb will thank you!